
Itasha Wraps on Modified Cars: A Body Kit Checklist
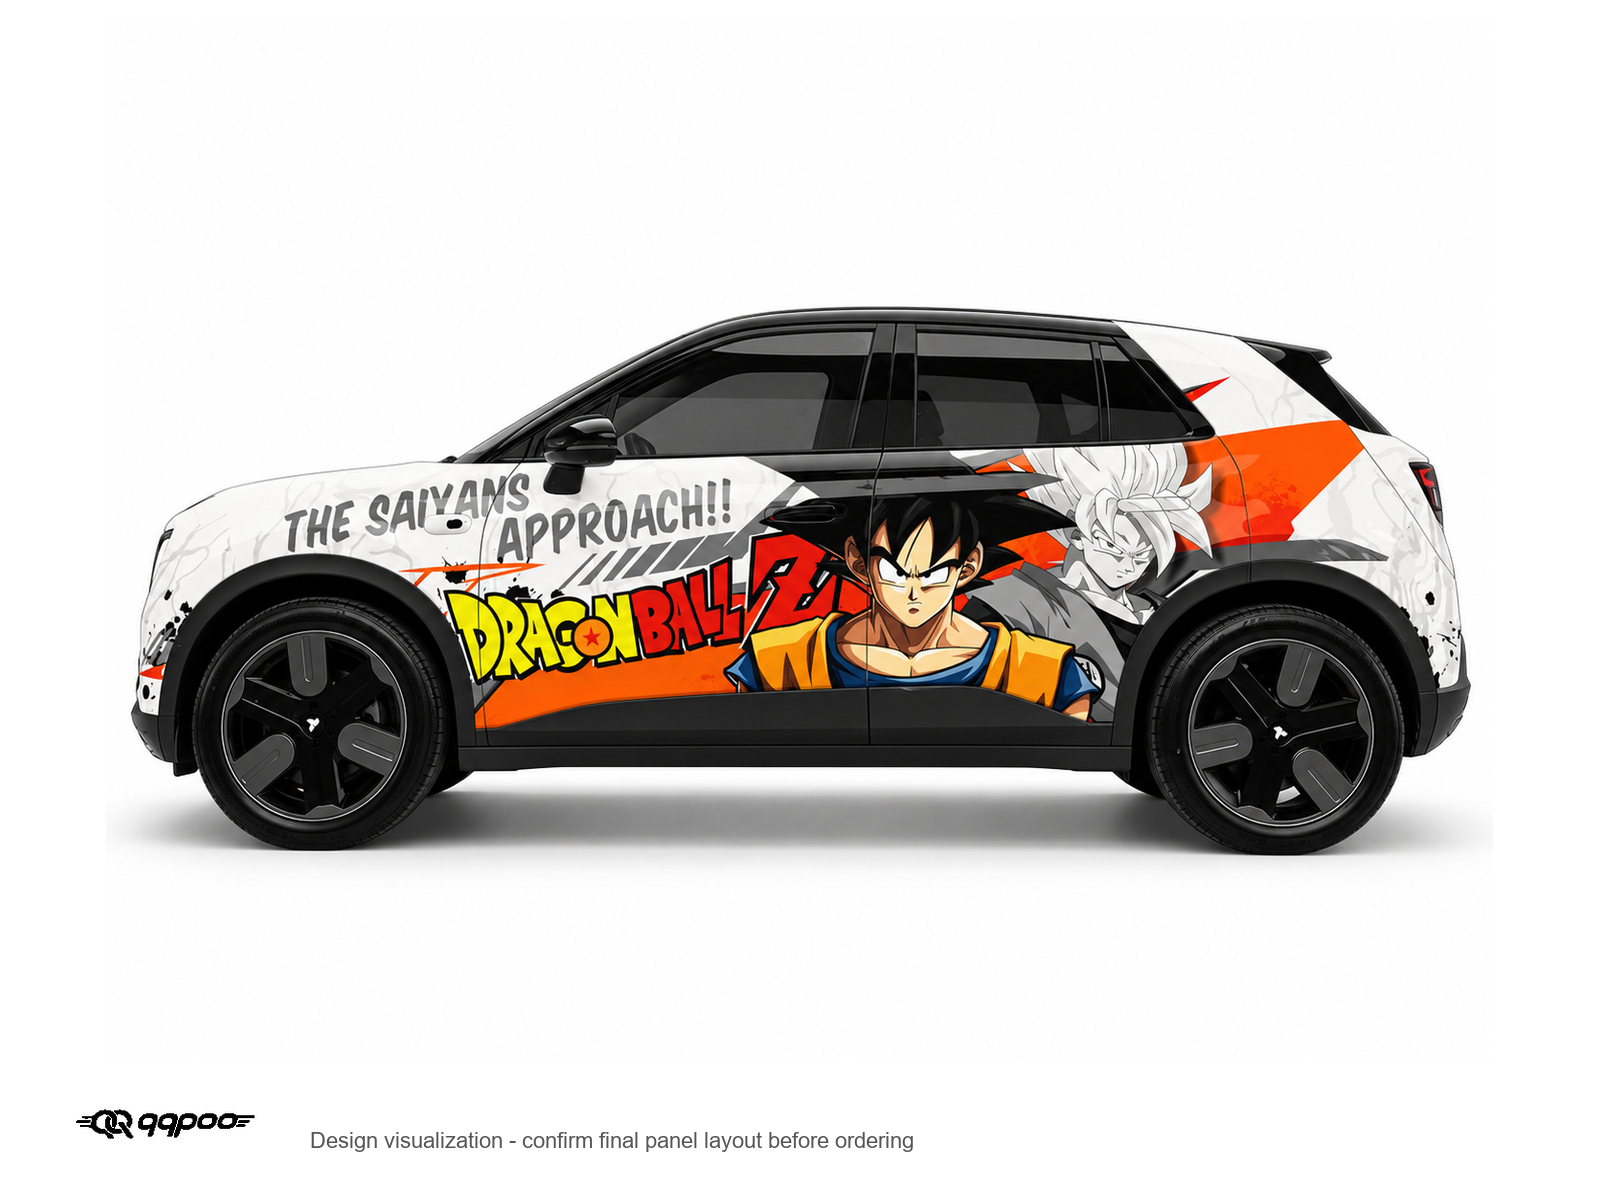
If your car has a body kit, widebody fenders or a different bumper, discuss the finished bodywork before approving an itasha wrap layout. The make, model and year identify the starting vehicle; they do not describe every panel on a modified car. Keep a record of what is fitted, what is still planned and which photographs match the version being reviewed.
This guide adds a bodywork-change record to the usual design brief. It helps you ask the designer and installer specific questions without treating a generic outline or a parts advertisement as proof of fit.
Why a stock-car preview needs another check
A changed panel can alter the area available for a character, the position of a visible join or how a graphic continues onto the next surface. Instead of asking whether a catalog image will look “exactly the same,” identify the features that matter: a face staying clear of a fender edge, a word remaining readable, or a background continuing between panels.
Template supplier GravBase’s preparation guide advises checking the actual vehicle for add-ons, including aftermarket bumpers. That is a useful reason to supply current vehicle information; it does not establish which template or production method QQPOO will use for your car.
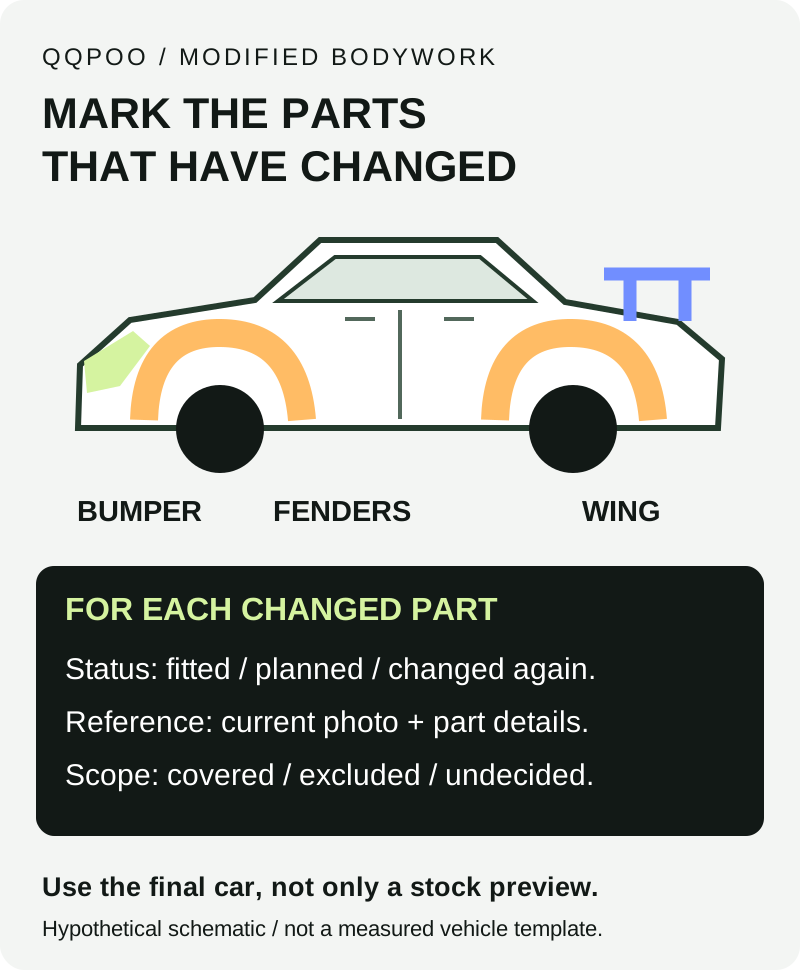
Make a part-by-part change record
List each changed exterior part separately. The most useful detail is not simply “widebody”; it is the exact part, its current status and the evidence the team can review.
- Fitted: identify the part and provide current photographs on your vehicle. Note whether the shown configuration is the one intended for installation.
- Planned: give the part reference and expected configuration, but state that it is not installed. A supplier’s promotional picture is a reference, not a measurement of your car.
- Changed after an earlier proof: identify the previous photo or layout that is now outdated and the panels affected.
- Excluded from the wrap: record the part as excluded instead of allowing its presence in a render to imply inclusion.
For each part, ask whether it changes the printing scope, layout review or information the installer needs. Do not assume a front bumper change means every panel needs reprinting, or that it requires no artwork work at all. The answer depends on the agreed design and the actual vehicle.
Send photographs that show the change in context
Pair a whole-side view with close-ups of the changed area and where it meets adjacent panels. Add front or rear views for bumpers and wings. Label the files by side, part and date so the reviewer can distinguish current photos from an older build stage.
For example, “left-front-fender-current” is more useful than several unlabeled images mixed with inspiration pictures. Explain which parts are fitted in each photo. This naming example is hypothetical, not a customer project.
Ask the designer or installer what measurements or additional views are required. If measurements are requested, confirm the start and end points, units and who will verify them. Do not infer dimensions from a stylized render, stretch a stock outline yourself or add a universal printing allowance from this guide.
Plan the layout around the intended finished configuration
You can begin discussing the theme while bodywork is still planned. Be explicit about which details remain provisional. Before approving production, ask what must be settled about the final shape, coverage and vehicle condition.
There is no universal scheduling answer for every body kit. Ask your bodywork professional and local installer how fitting, finishing and inspection should be coordinated with the wrap. If painting or repairs are involved, have them confirm when the actual surface is suitable; this guide does not set a curing period or installation method.
The coverage checklist helps define which parts are included. The local installer checklist helps establish acceptance of the proposed kit. Neither replaces a review of changed bodywork.
Copy this bodywork-change note
Vehicle: (make / model / year / body style).
Part or area: (bumper / fender / wing / other).
Part reference: (manufacturer and model if known).
Status: (fitted / planned / changed since the previous proof).
Current evidence: (dated photo names and any requested measurements).
Earlier reference replaced: (photo or layout version).
Artwork priorities: (face / text / background alignment / excluded area).
Open questions: Does this change the layout or printed-panel scope? What additional information is needed before production? Does the quotation or schedule need review?
Latest agreed record: (body photos + layout version + date).
What if the bodywork changes after proof approval?
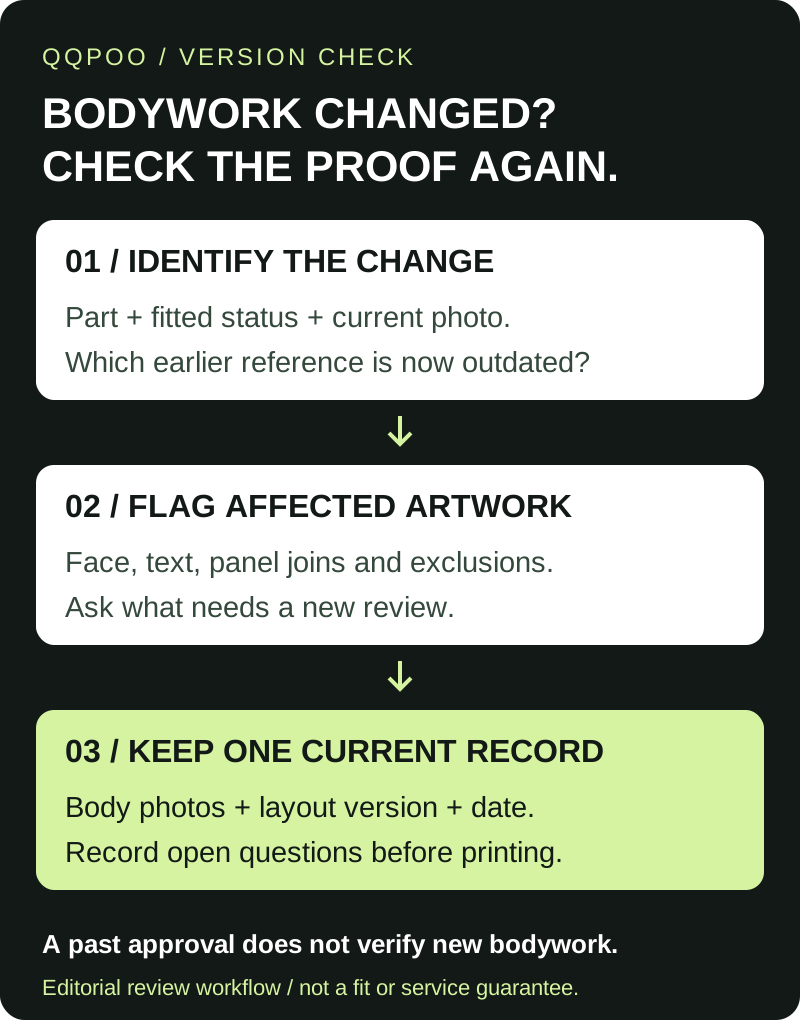
Tell the team which part changed and when, and ask what stage the order has reached. Keep the new information with the proof-approval record. An approval based on the previous bodywork does not verify the new configuration.
If material has already been printed, ask about the affected panels before assuming it can be used unchanged. Any new design work, printing, charges or timing must be discussed for the specific order; this guide does not promise a free revision or replacement.
Can a catalog wrap work on a modified car?
Start by sending the exact product code and your bodywork-change note. The listing provides a visual reference, not automatic fit confirmation for aftermarket parts. If the intended composition needs a different direction, discuss custom design; “custom” still requires the actual vehicle details.
Browse the catalog if an existing theme suits you, or use the premade versus custom guide to choose a starting point. Keep the final vehicle, printed scope and current artwork version together before moving from planning to production.